BullX is a powerful trading platform designed to help you buy, sell, and manage your Solana-based portfolio with ease. Offering a range of advanced features like auto trading strategies, wallet management, and powerful charting tools, BullX is ideal for both novice and experienced traders. This guide walks you through the basics of getting started with BullX to help you maximize your trading experience.
Step 1: Create an Account and Set Up Your Wallet
To get started on BullX, the first step is creating an account. Head to the BullX website or download the app to begin. Once registered, you’ll need to set up your wallet. BullX allows you to create a new wallet or import an existing one. Remember, your private keys are crucial for wallet security, so make sure to store them safely.
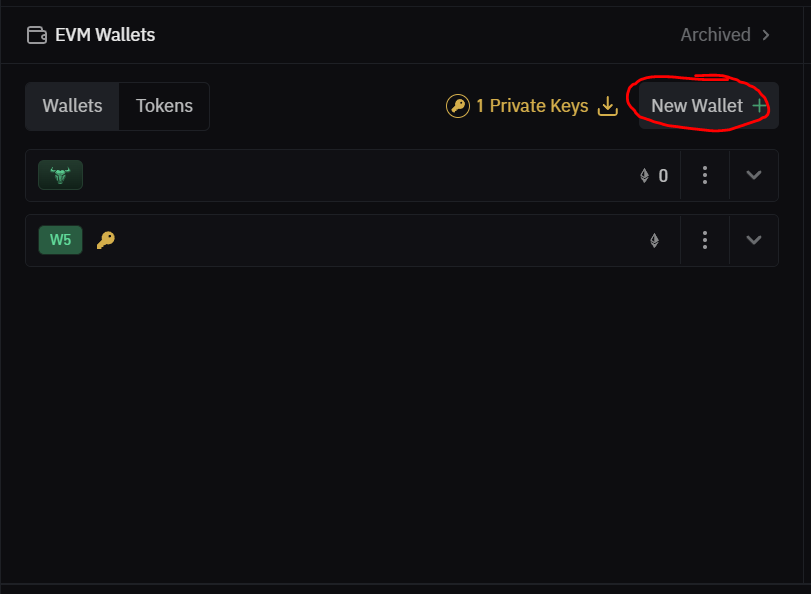
How to Create a Wallet:
- Open BullX and navigate to the wallet manager.
- Click “New +” and select “Wallet.”
- Download your private key and store it in a secure location.
- Optionally, import your wallet’s private key into a third-party wallet for additional access.
BullX wallet creation interface for Solana users.
Step 2: Fund Your Wallet
After setting up your wallet, the next step is to fund it. Simply copy your wallet address from the BullX platform and send crypto to it. You can also withdraw funds easily using BullX’s in-app features. If you have set up two-factor authentication (2FA), you will be prompted for your code when adding a withdrawal wallet for extra security.
Funding Your Wallet:
- Copy your wallet address from BullX.
- Send crypto from another wallet or exchange to your BullX wallet.
- Confirm the transaction and check your balance.
Step 3: Explore Advanced Trading Features
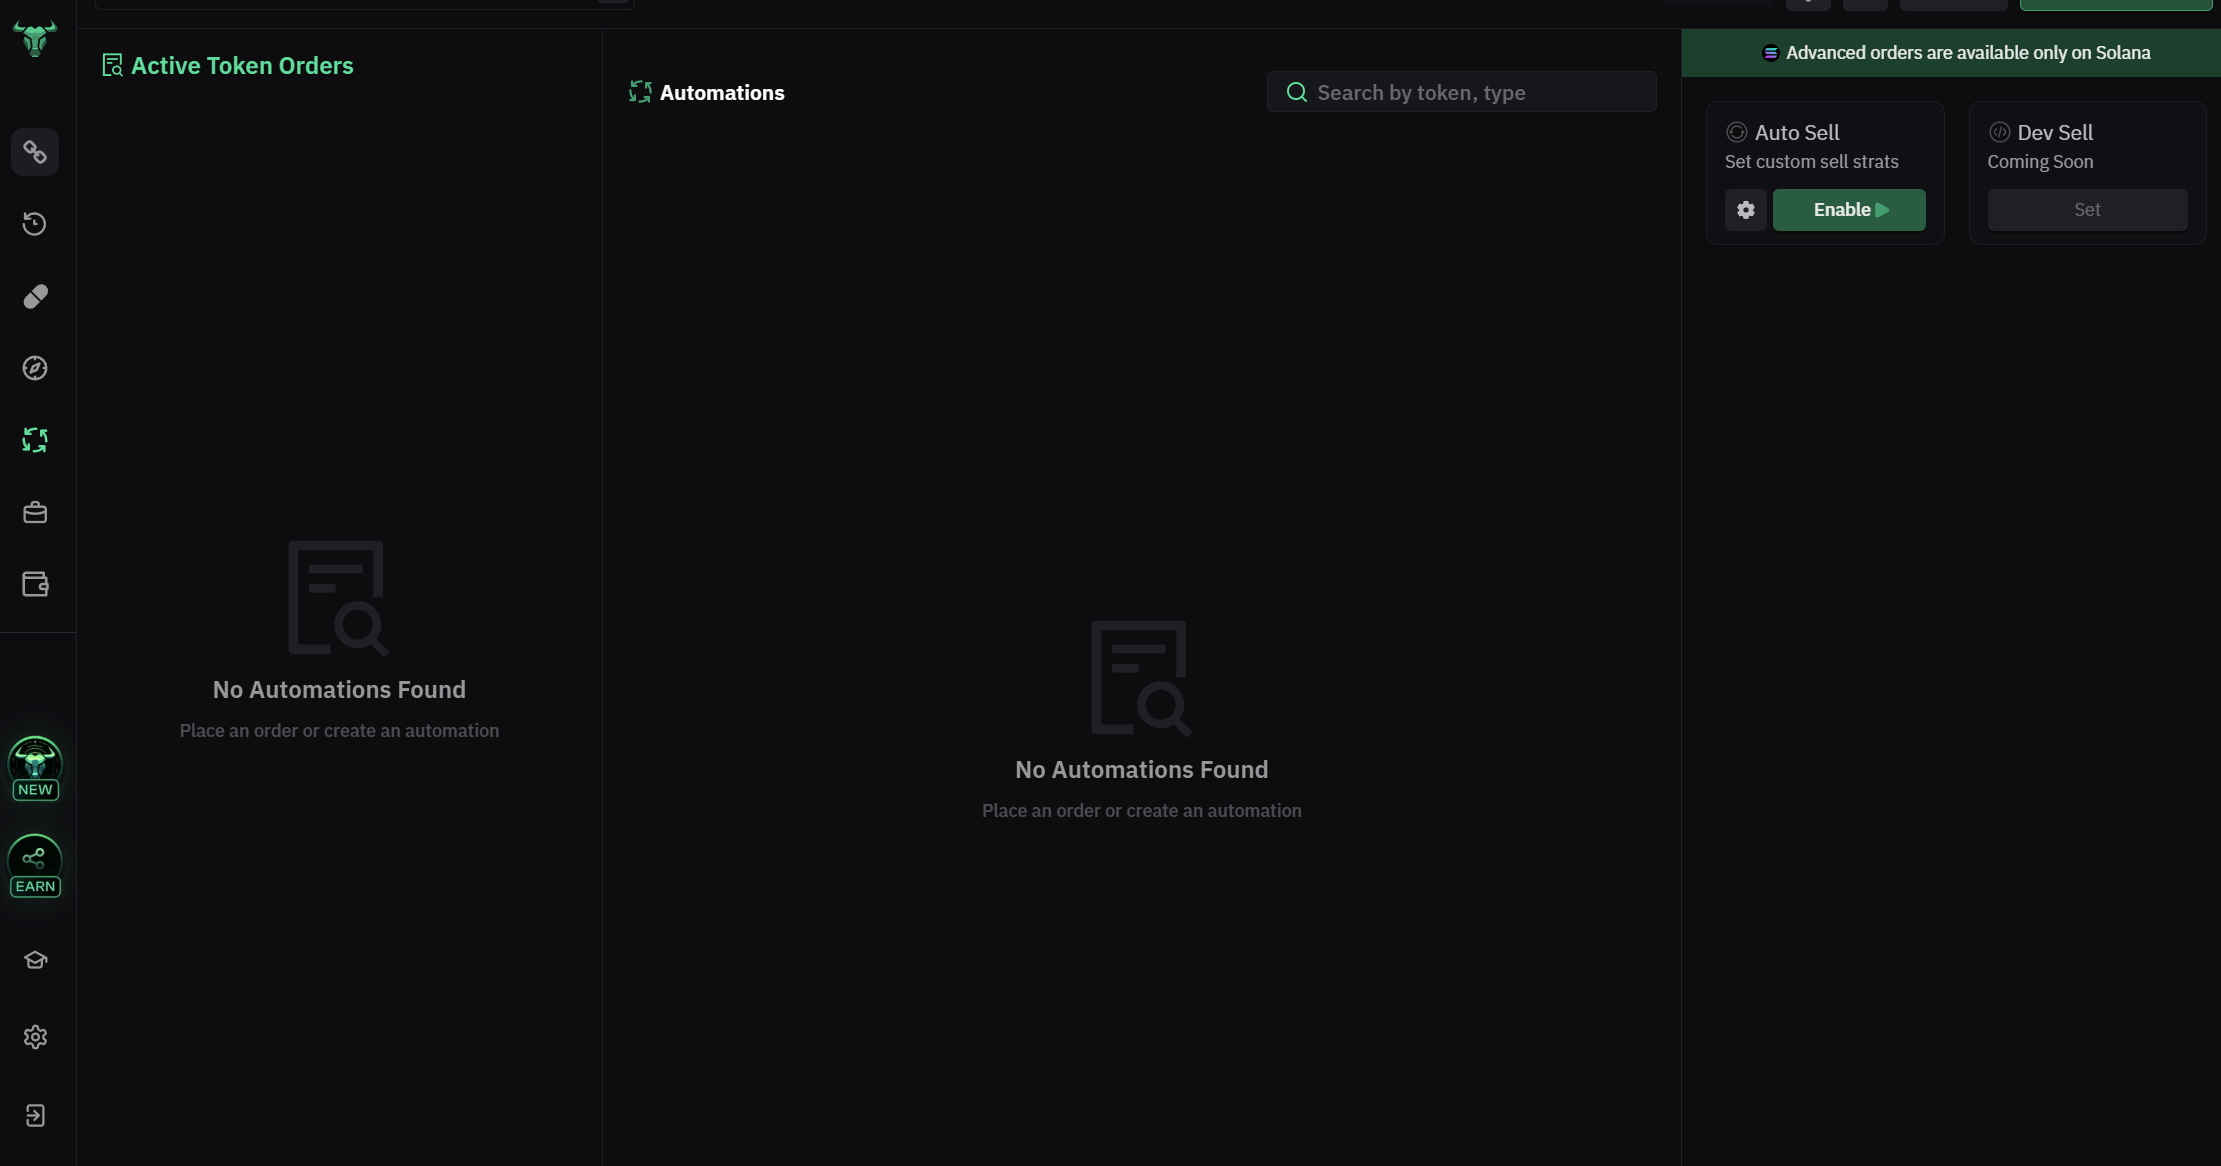
BullX offers several advanced features designed to optimize your trading experience, such as automated sell strategies, wallet tracking, and customizable charts.
Auto Trading Strategies: BullX’s Auto Sell feature allows you to set up trading strategies that automatically sell tokens when certain conditions are met. For example, you can specify when to sell based on price targets, percentages, or other criteria. Once set, these strategies will apply to every token purchase made through the platform.
Step 4: Review Your Trading Performance
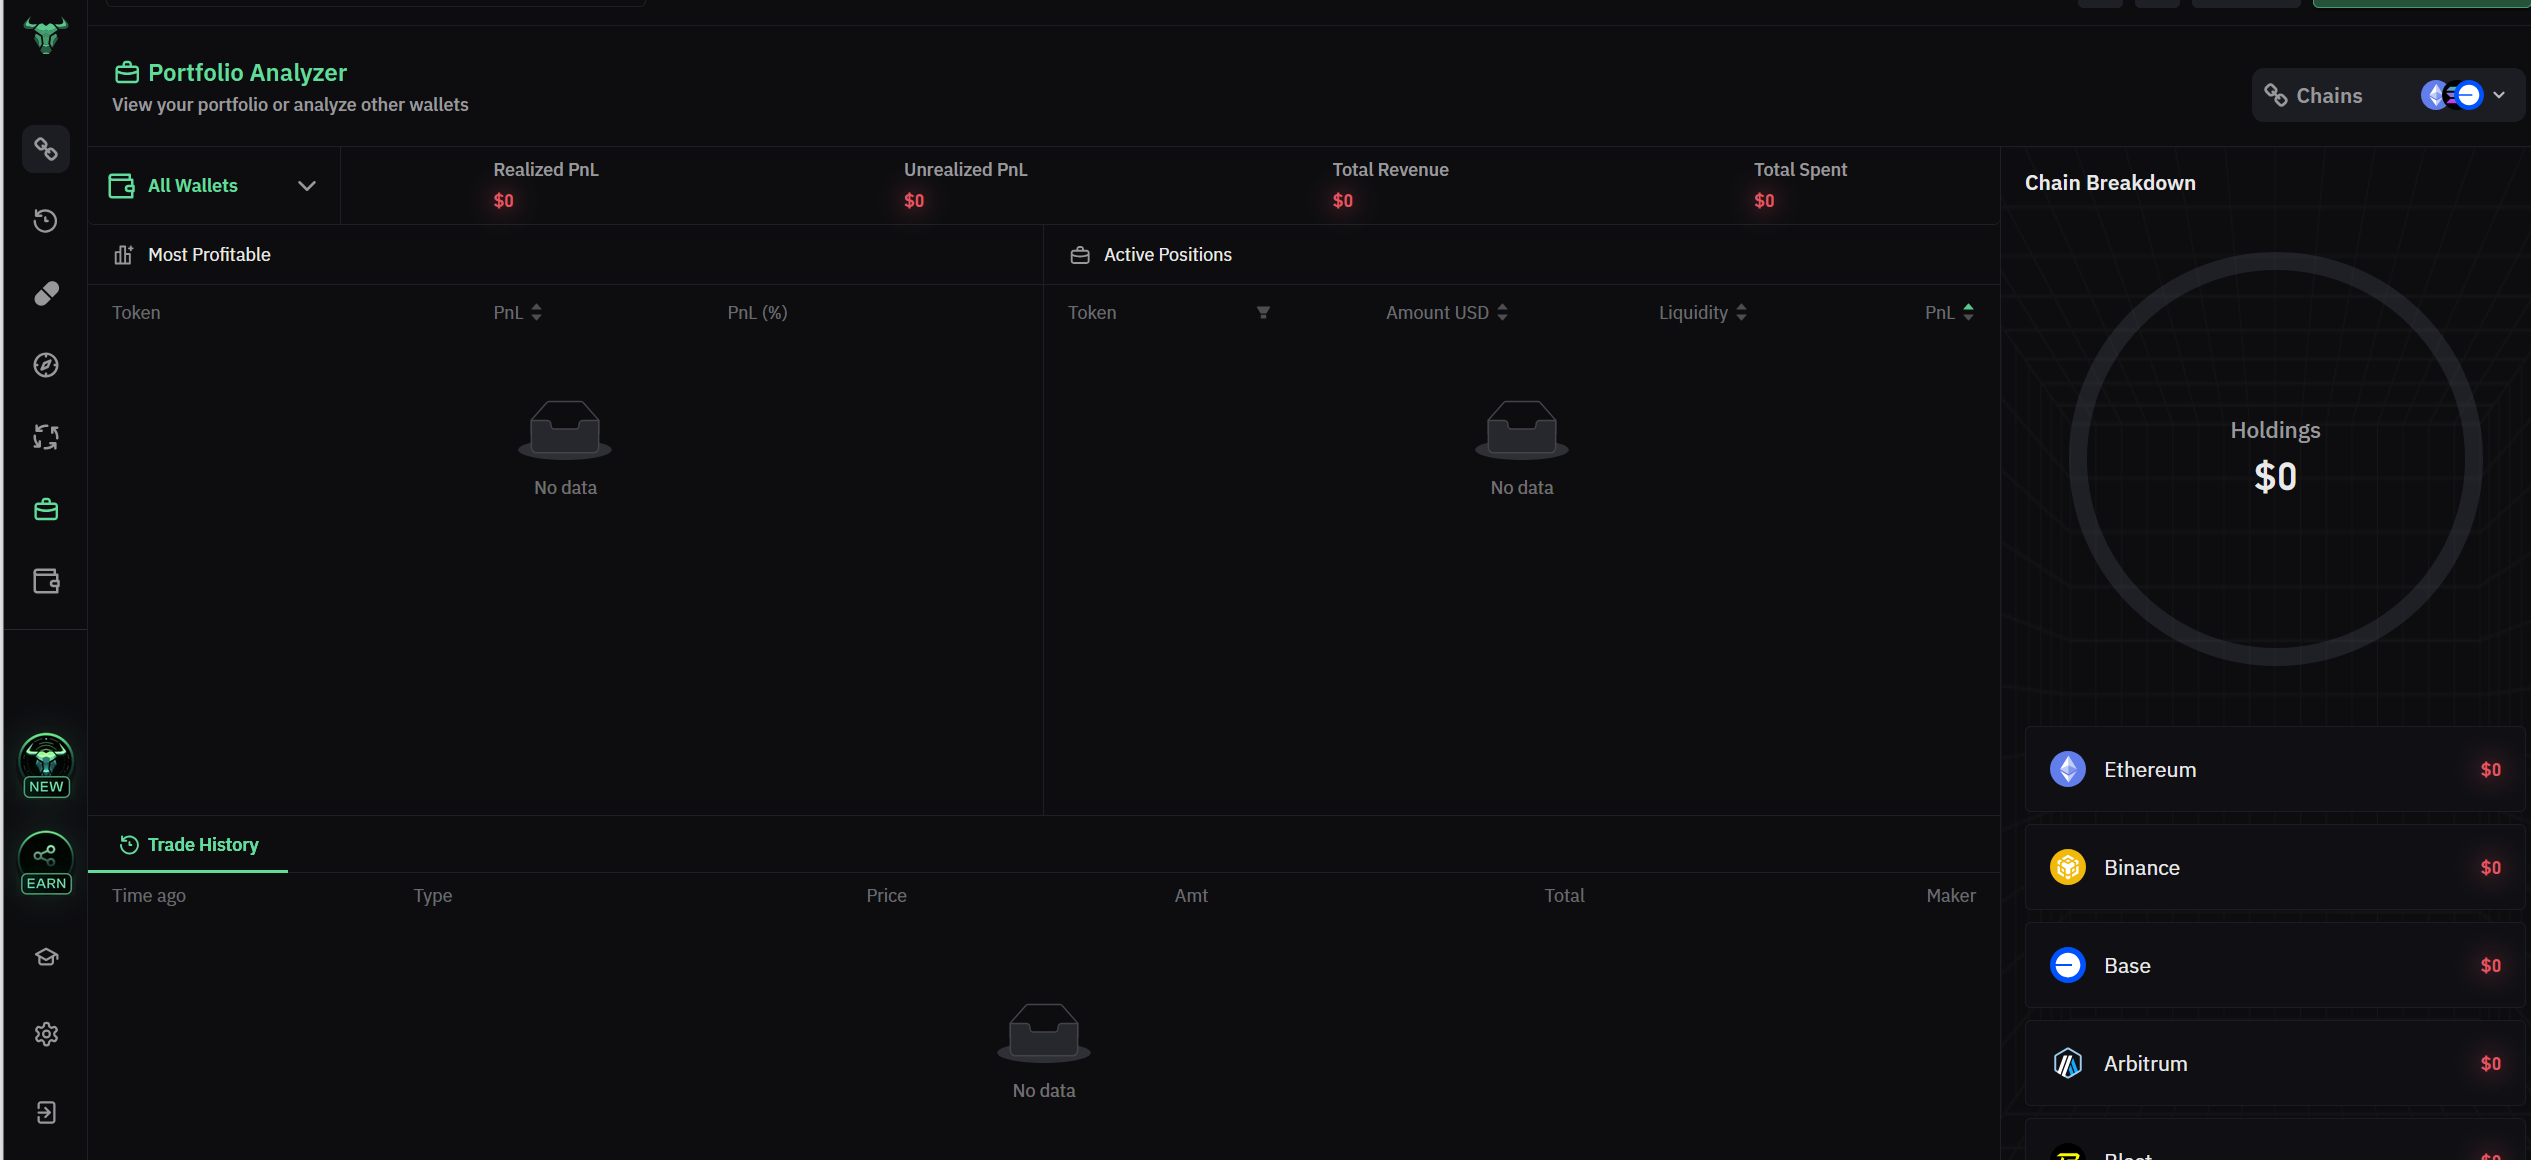
BullX’s Portfolio page tracks your trading performance, allowing you to view your profits and losses over different time periods. You can analyze your trading activity by wallet and even compare your performance with other traders’ wallets.
Tracking Your Portfolio:
- Go to the Portfolio section of the app.
- Select a time range to view your trading performance (e.g., 1 hour, all-time).
- Review your performance by wallet or overall.
Step 5: Understand BullX Fees and Gas
Every transaction on BullX incurs a fee, which is 1% of the initial token used for the buy or sell transaction. Additionally, you’ll need to manage Solana gas fees, which can be customized for speed and cost optimization.
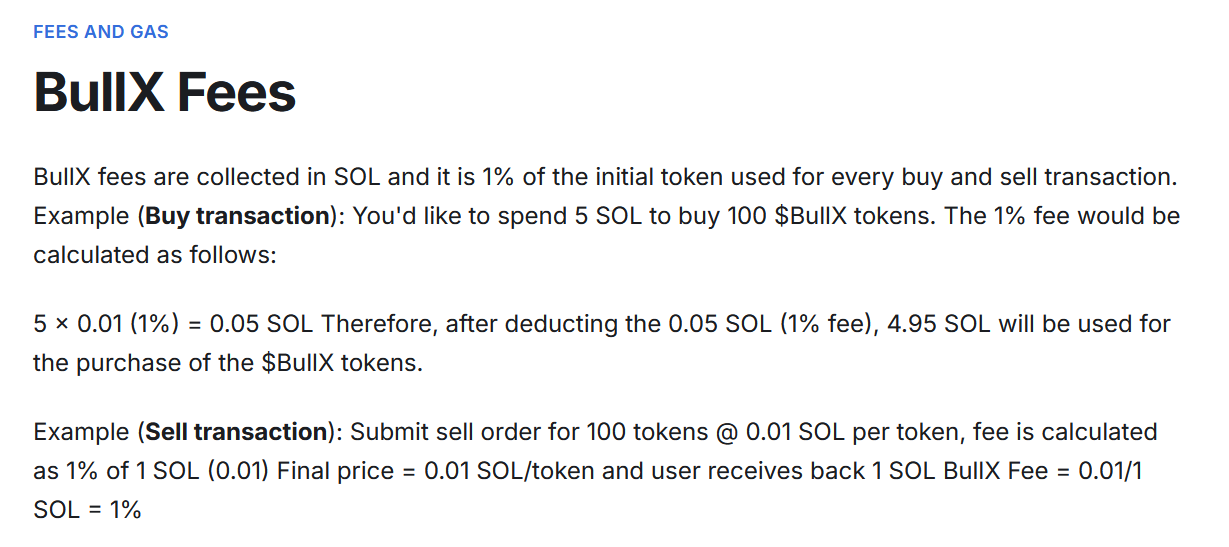
BullX Fees:
- The fee for buying and selling on BullX is 1% of the transaction value.
- Example: If you spend 5 SOL to buy tokens, you’ll pay a 1% fee (0.05 SOL), leaving you with 4.95 SOL worth of tokens.
Solana Gas Fees:
- You can adjust your gas fees through priority settings.
- The “Rapid” and “Insane” options help speed up your transaction processing.
Conclusion
Getting started with BullX is straightforward, and with the platform’s robust features, you can take your Solana trading to the next level. From auto trading strategies to tracking top traders, BullX provides everything you need for a seamless trading experience. Follow this guide, explore the platform’s tools, and begin your journey with confidence.
By following these simple steps, you’ll be on your way to trading smarter and more efficiently with BullX, optimizing your trades, and managing your Solana portfolio effectively.